Several users can be created in Priima at once using a csv file under Management > Users > Create Users > Create multiple users at once. Below you will find a comprehensive help file for creating users.
Users are imported into the environment using a CSV file, so you can find a sample file below.
- The first row contains the headers of all the used fields (in English and lowercase).
- The file must contain at least the following fields: email, firstname, lastname.
- Each user’s information is always added on a single row.
You can open and edit the example file with a spreadsheet program.
The example.csv file above has 6 columns: email;firstname;lastname;phone;address;group.
You can remove the 3 columns on the right and only put the contents in the 3 mandatory fields, this way you can choose a suitable group for users in the import view (and you don’t have to mark it in the file).
But if you want to connect the users of the file to different groups, you should use the file’s group column. In that case, don’t delete any columns, you can leave the phone and address columns empty.
When you also want to define a username and a specific password for users, then username and password columns are also needed. In that case, the columns of the file are:
email;firstname;lastname;phone;address;group;username;password
Character encoding
When importing data for multiple users to Priima using a file, the file must be UTF-8 encoded, so that all characters are correctly displayed in the user data. For example, a file made in Excel should be stored in the form of CSV UTF-8. When importing the file, Priima will point out, if there is not the right encoding in use.
Please note! On Mac devices, the saving UTF-8-formatted files in Excel usually works directly, but for Windows machines it is advisable to do the following:
- users are listed, for example, in Excel and saved as a csv file
- open the csv file in Notepad/Notepad and re-save the encoding as UTF-8

Existing users
If the CSV file includes users who already have an account in Priima environment, the information for the existing users will be changed to match the values selected during import.
The feature allows users to continue to set group and course memberships, permission level, language, and username validity. The group and course memberships set in the new import as well as the validity periods of the user account will immediately take effect for existing users as well. If the account has expired, the account will be reopened.
In connection with the function, you can compose a message that is sent immediately to new and existing users. The message sent to new users automatically includes, in addition to the added note, the following information at the end: the login page URL, username, and password.
Here’s a clear English translation:
A message is sent to existing accounts if they were added to a new course or a new group during the import. In addition to the added note, the message automatically includes information about the addition to the new course/new group, as well as the login page URL and username. Passwords cannot be sent to existing accounts — users can request a new password themselves via the Forgot your password? function on the login page if needed.
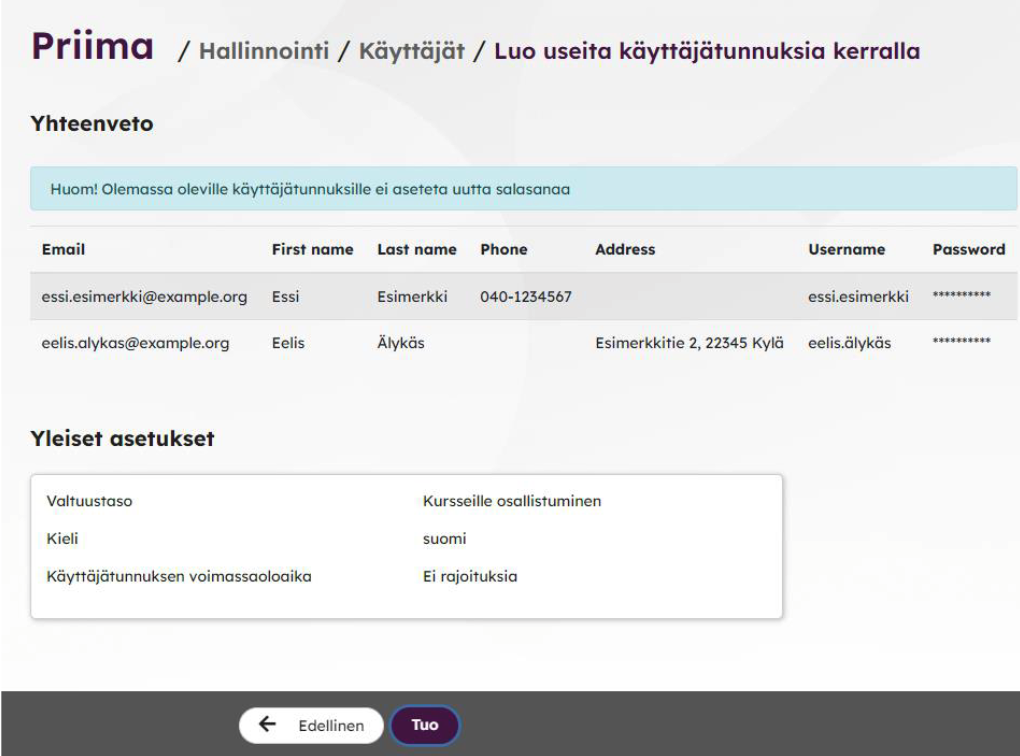
The Summary view lists all the users in the CSV file and shows you which settings are selected.
Finally, click the Import button to create the user accounts. Please wait patiently for the next page view, which will display the newly created accounts separately from those that already existed in Priima.