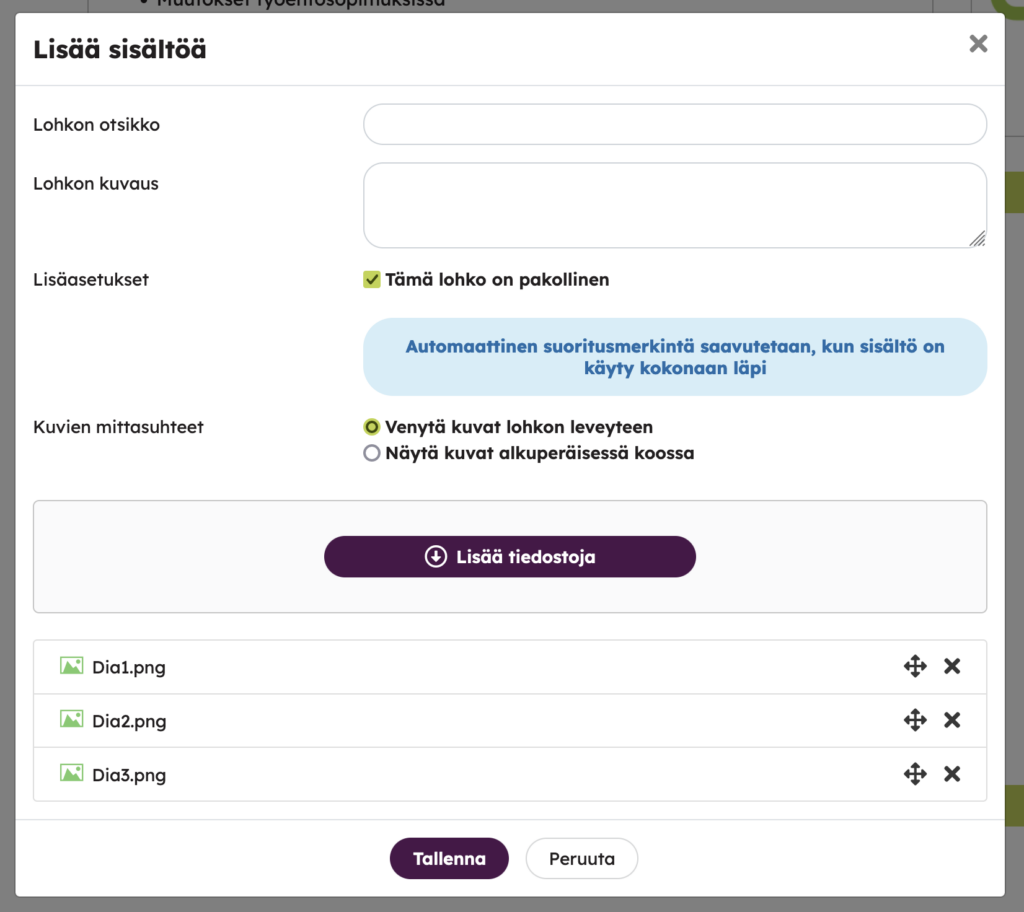
The image carousel content block can be used to display multiple images in image carousel format. This block can also be a mandatory assignment, with automatic approval of the presentation once the learner has gone through all the images on the carousel at the same time. So here’s a good time to think about how many pictures make sense to have in one carousel block so that the learner is sure to be able to look through them all at once. (On the other hand, it is good to note that there must be at least two images in the carousel. If there is only one image to be set as a task, for example a diagram to go through, it is recommended to import it as an Image content block and set it as mandatory. In this case, the Mark completed button will appear below it.)
The learner can scroll through the material using the arrow buttons on the left and right sides of the carousel block or the segment at the bottom. From the segment at the bottom of the block, the learner can also keep track of where the material is progressing.

If the image carousel is a mandatory assignment, the green color in the segment at the bottom indicates which pages have been traversed. In addition to the first uses, it is a good idea to instruct learners that the content must be reviewed at once in order for the image carousel to become a completed assingment.

If the course has several images, the mandatory nature of the block is shown in the page navigation on the left. There is also an i icon in the upper right corner of the image carousel, which opens an explanation: “The assignment is completed when you have completed the content.”

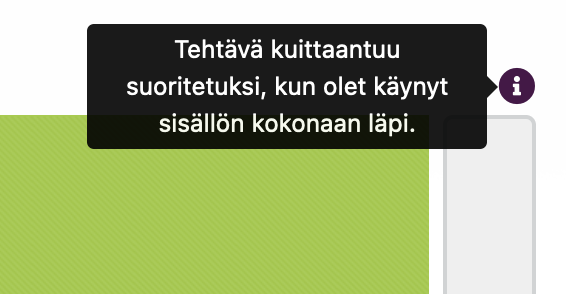
If the image carousel is in use in a micro-course (i.e., the side navigation on the left side is not visible, the mandatory is indicated specifically by that i-icon.
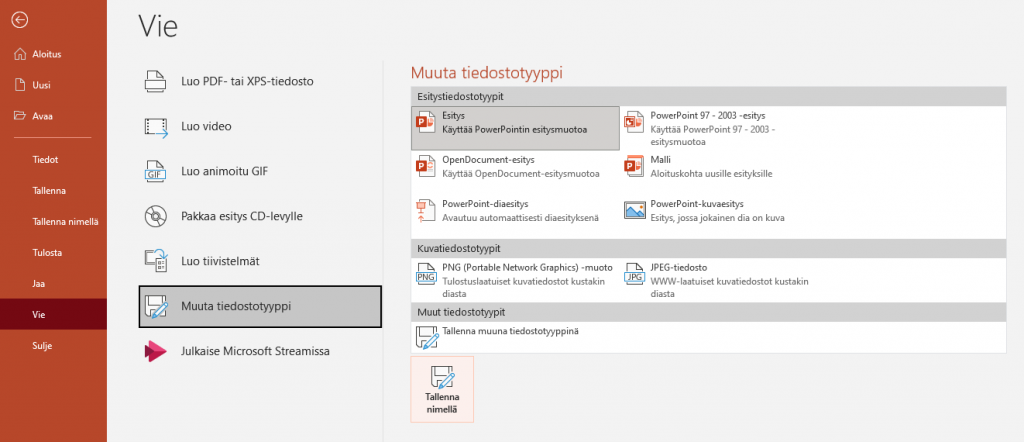
Tip: You can turn a PowerPoint presentation into a carousel by saving the slides in the presentation as images. The save path to images may vary depending on the version of PowerPoint.
- Save As > Download as Images > Download a copy of the presentation to your computer as JPEG images (one image from each slide) or
- File > Export > Change File Type > [select format eg JPEG] > Save As